NOTE: This guide was originally released as a series of three posts released over the span of four days. As they all concern the same topic, they will be consolidated here, with the original structure preserved as chapters.
NOTE 2: Information about how to jailbreak your console are obsolete, you're better off following any guide that's been updated and maintained, notably for the "new" 12.02 exploit.
As some of you might know, a few years ago I, along with my homies Sytarie and Rapa made a french translation for The Silver Case on Steam. It wasn’t perfect in any way but I still cherish the project to this day! As I was able to acquire a copy of the Silver2425 compilation for my PS4 a few years ago, I decided that porting our patch to as many versions as we can would be a good thing. My first (unfruitful) attempt at this was done two years ago, it is documented in the following Twitter thread.
In this post, I will go through the steps we must follow in order to play a modded game on a PS4:
First of all, we need a FAT32 (or exFAT)-formatted USB Drive. 8GB should be enough for The Silver Case but the bigger, the better!

As of the console, we need a jailbreakable PS4. Firmwares 5.05, 6.72, 7.02, 7.50~7.55 and 9.00 are compatible. If you’re on a lower firmware, you should upgrade to the latest exploitable version. If you’re on a higher firmware, you’re out of lock and need to wait for an exploit to be found. DO NOT TRUST THE “DOWNGRADER” SOFTWARES, IT’S A SCAM!
If the console is compatible, we will need to run a HEN exploit on boot in order to enable the jailbreak functionnalities. This is done by running webkit exploits either from a local server (self-hosted exploits), or from a website that hosts them (example here). The most well-known HEN enablers are GoldHEN and MIRA, both give access to the functionnalities we need.

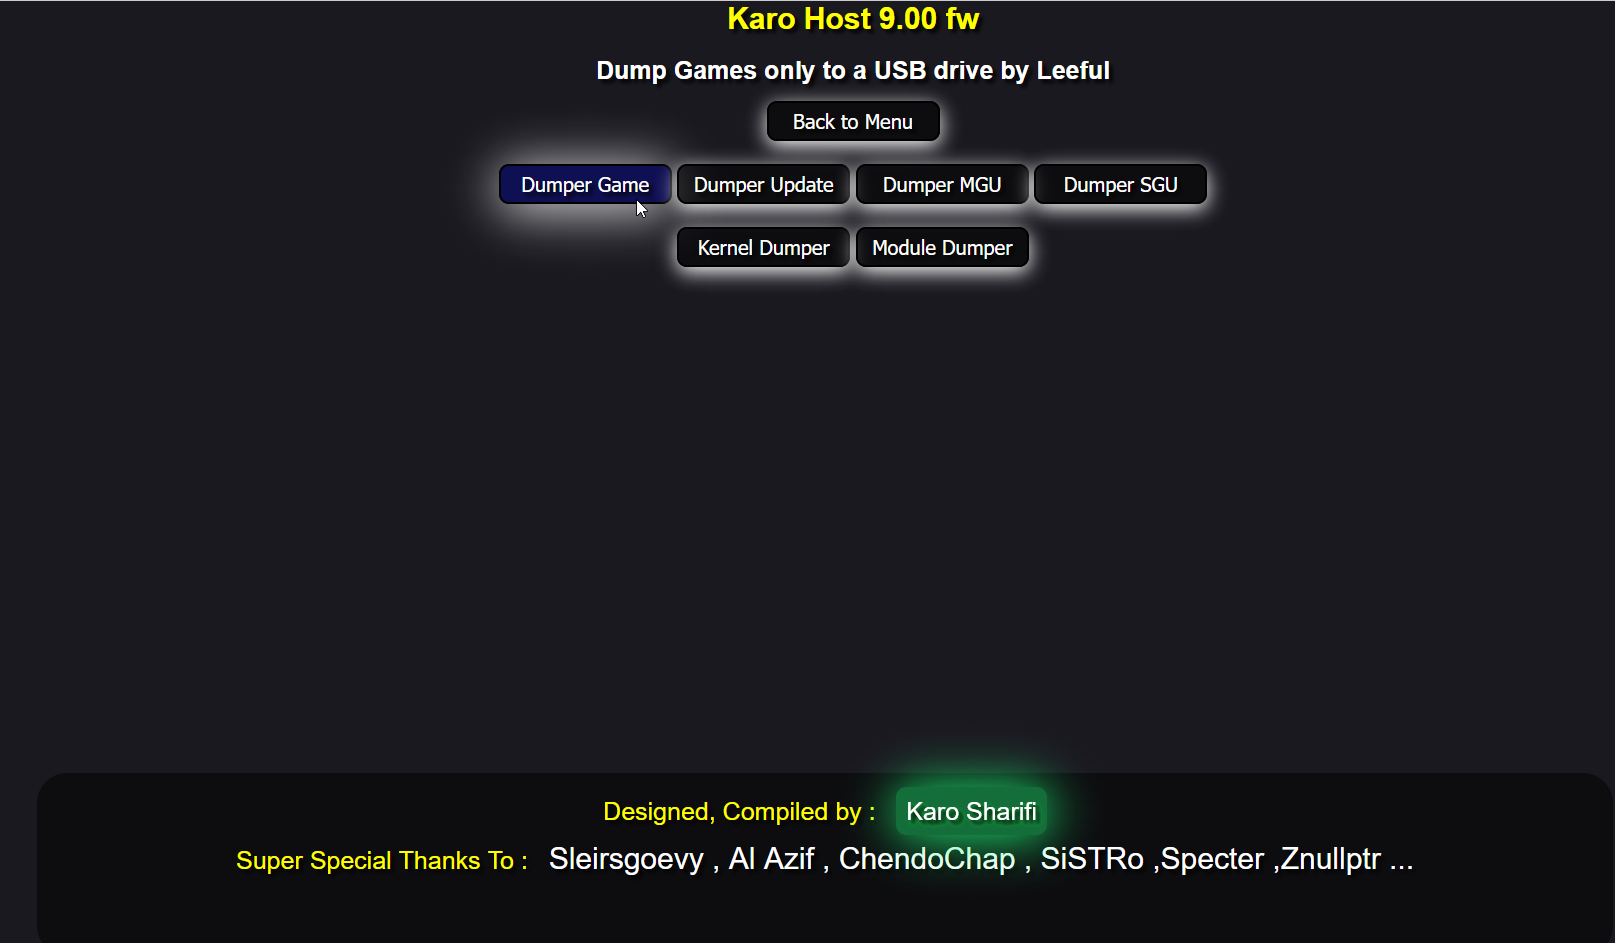
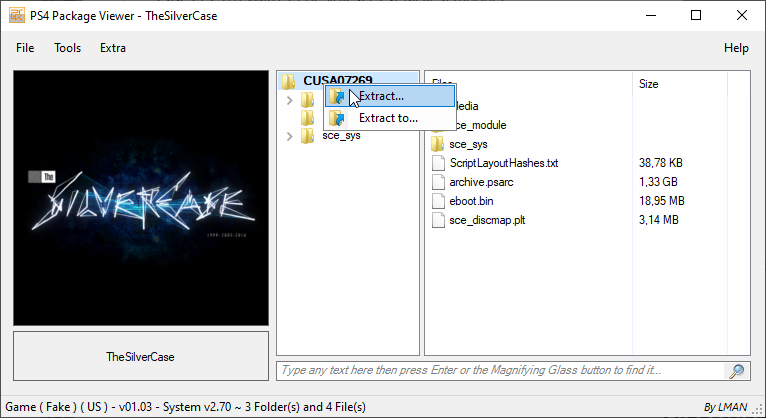
Once the HEN exploit is active, we need to dump the original copy of the game, and its' updates when needed. In order to do that, BinLoader must be enabled by going in the console’s Settings > Debug Settings > Servers Setting, and then ticking the checkbox here. Once enabled, we can run a Game Dumping exploit (the Karo menu linked earlier has it in the Dumper Group category). The next booted game will be dumped to the USB Drive plugged in the console. This process might take a while, maybe a bit less than an hour, but in the end we obtain a clean folder with all of the game’s files. This step is necessary as all the PS4 games are encrypted within PKG files locked by a passcode, and are only decrypted on runtime.
At the end of the process, we have a CUSAXXXXX-app folder on your USB Drive. If the game has updates, we will end up with CUSAXXXXX-patch folders as well.

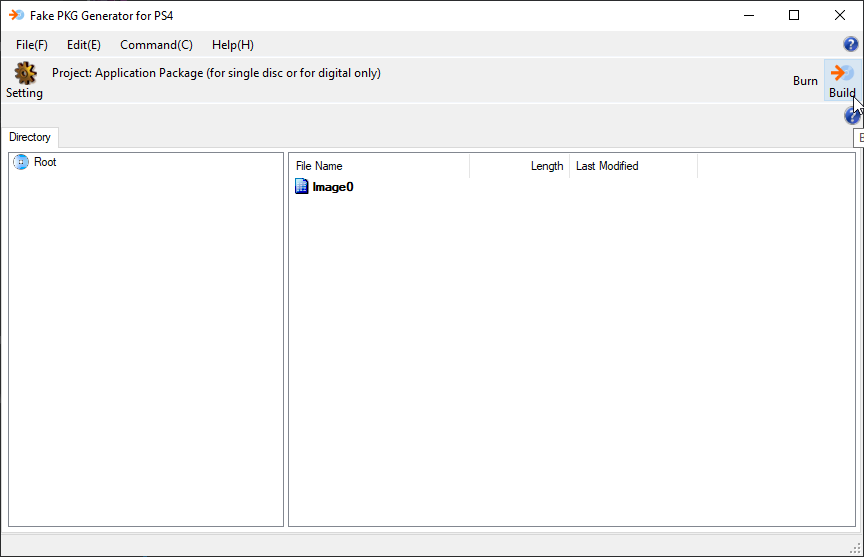
The next step is rebuilding the dumped games (and updates) into Fake PKGs by using Fake PKG Tools: we generate a .gp4 file for the base game with gengp4_app.exe, then we open the resulting .gp4 file within orbis-pub-gen.exe and click on the “Build” button on the top right corner. We then repeat the process for all the updates by running gengp4_patch.exe instead.
We can then install the generated PKG files back on the PS4 by putting them on your USB Drive, then going into “Settings > Debug Settings > Package Installer”.

We are good to go! Now that our game has the default passcode 0000000000000000…0, we can finally install whatever modded files we want over it.
Our previous post explained how to prepare a game for modding. Today, it’s about time we do the actual modding part!
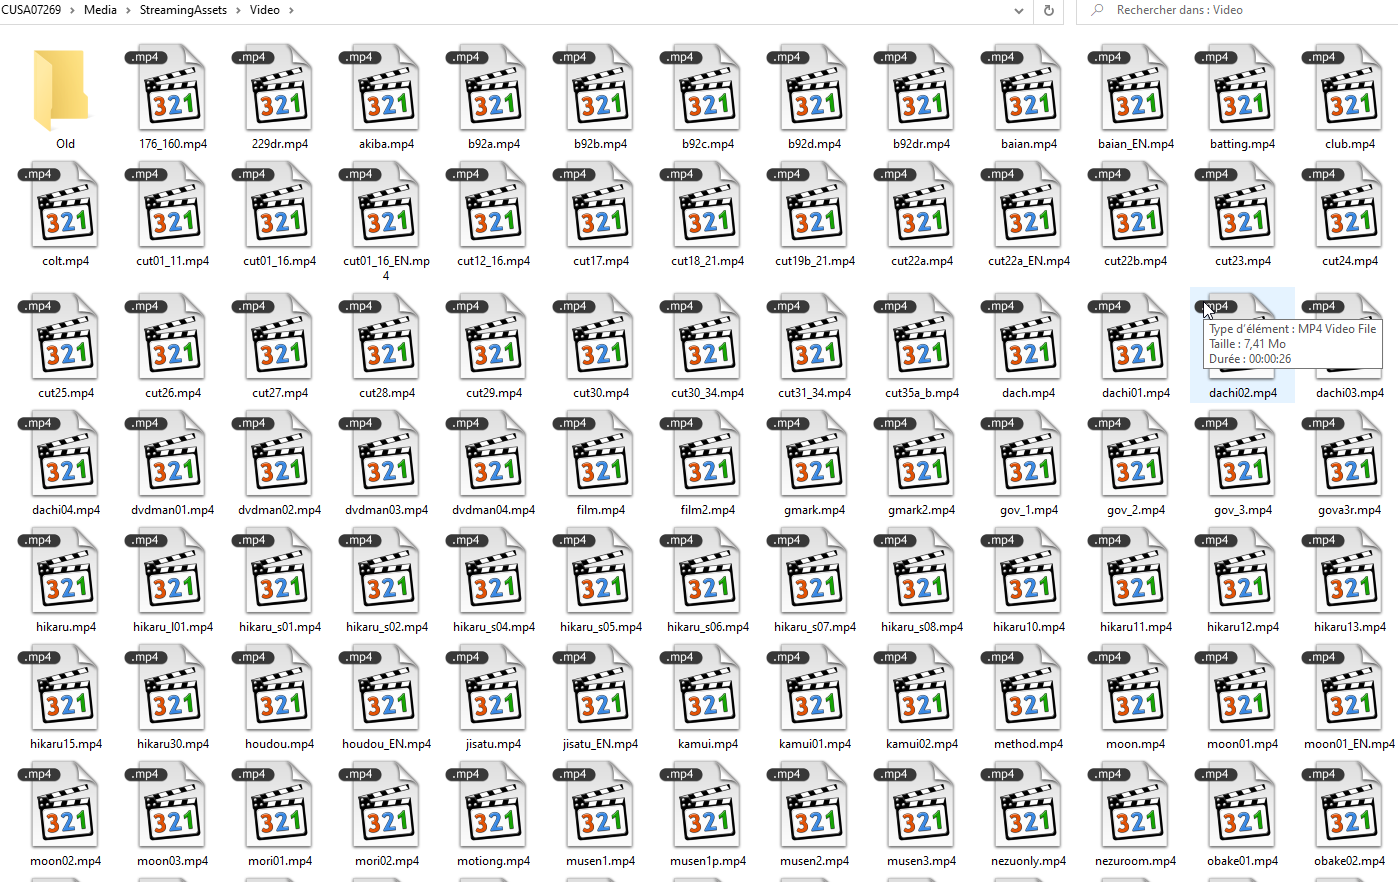
The game was made with Unity. As such, its mostly comprised of .assets files, just like the PC version, with one particularity: the heaviest (and most important) assets have been compressed within a .psarc archive, a proprietary format used by Sony games since the PS3 era.
In 2020, I used a tool named Karameru to extract the .psarc archives. This time I used Noesis, a tool widely-used to preview 3D models from different formats, but also for extracting some types of archives, which .psarc is part of.
Once the archive is extracted, we can treat its contents like a usual Unity game folder. Unfortunately, this means more extracting and repacking but it won’t be a problem, as this time we have the whole Unity modding community behind our back!
My favorite tool for extracting Unity .assets files is AssetStudio, a software that has been faithful to me since 2019, when I first used it on the PC version of the game. It’s very easy of use for previewing and extracting the contents within the archives, but it unfortunately does not support reimporting/repacking.
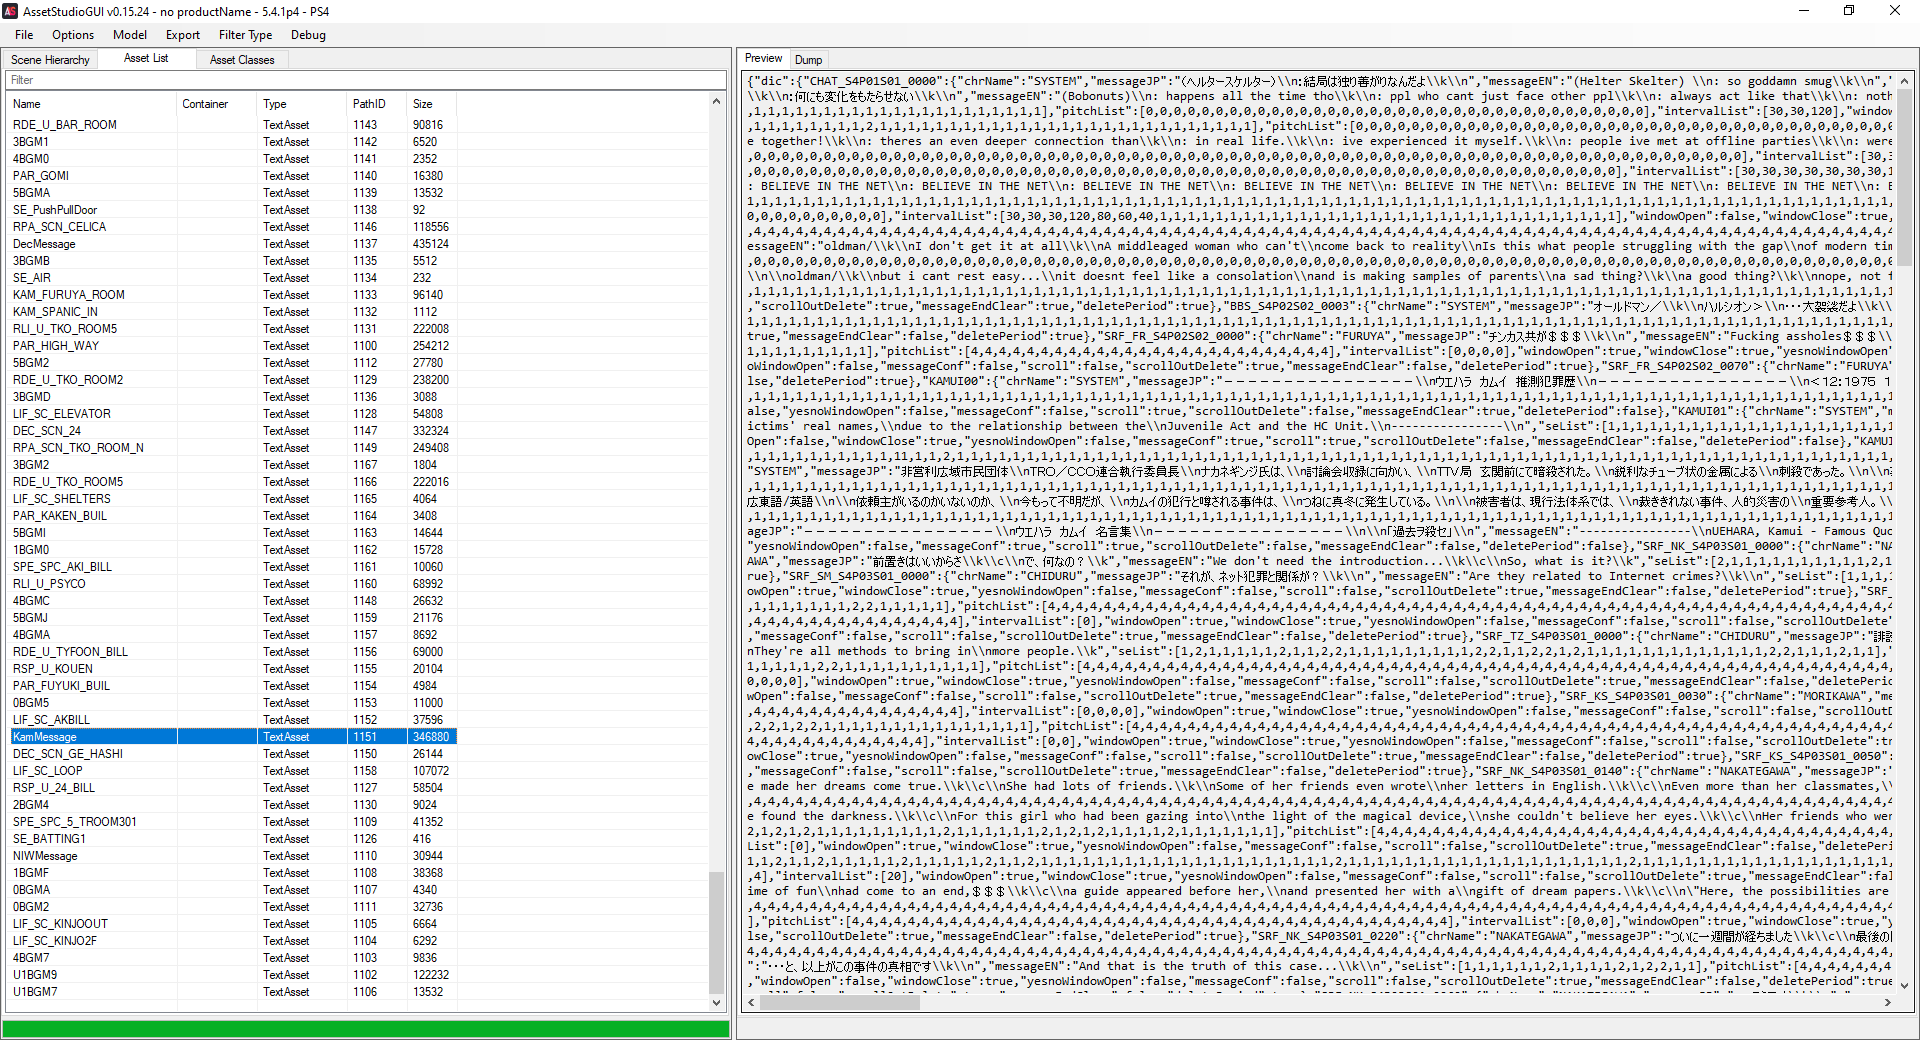
Once the files we want are extracted, we can edit them to our leisure. I won’t elaborate much on this part, but one thing I can say is that AssetStudio does its best to convert the assets into commonly-used formats: .txt/.json files for the TextAsset files, .png files for the Texture2D ones, .wav for the AudioClip… Surely, we won’t have much research works to find software able to work with these file formats!
Anyway, after editing the extracted filed to our will, we will reimport them with a russian tool called UnityEX (YandexDisk mirror). Just like AssetStudio, it’s a tool I got familiar with in 2019, when I worked with the PC version. It has been helpful enough for me to donate to its developer in order to get all the features of the program, such as the Unity 2020-2021 support (more on that on the official forum thread) but we can work with the freeware version as well, since the game has been compiled with Unity‘s 2016-2017 SDK!
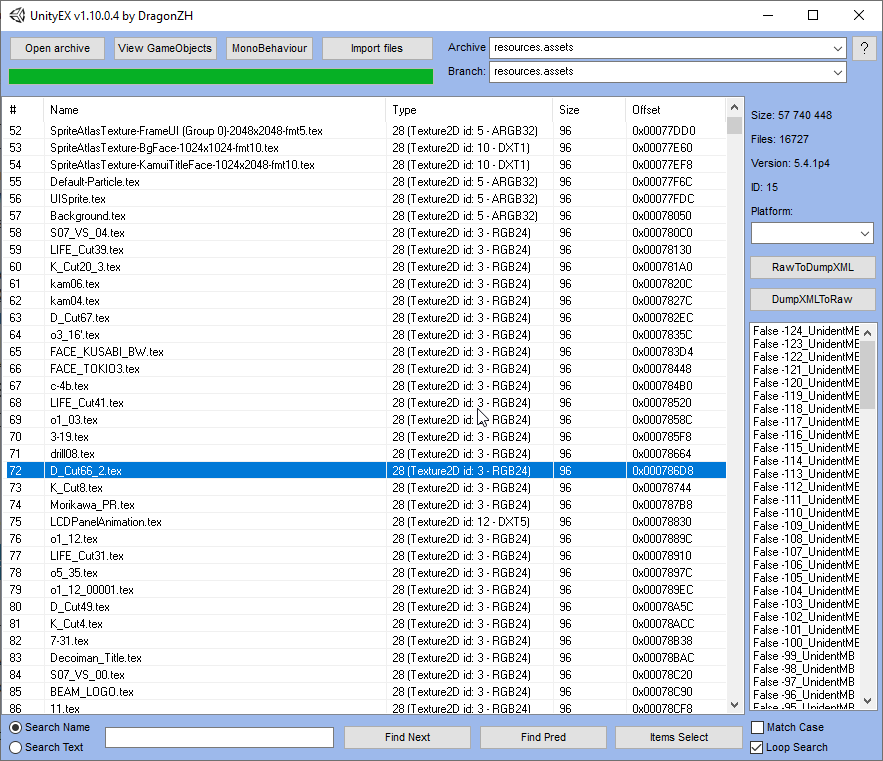
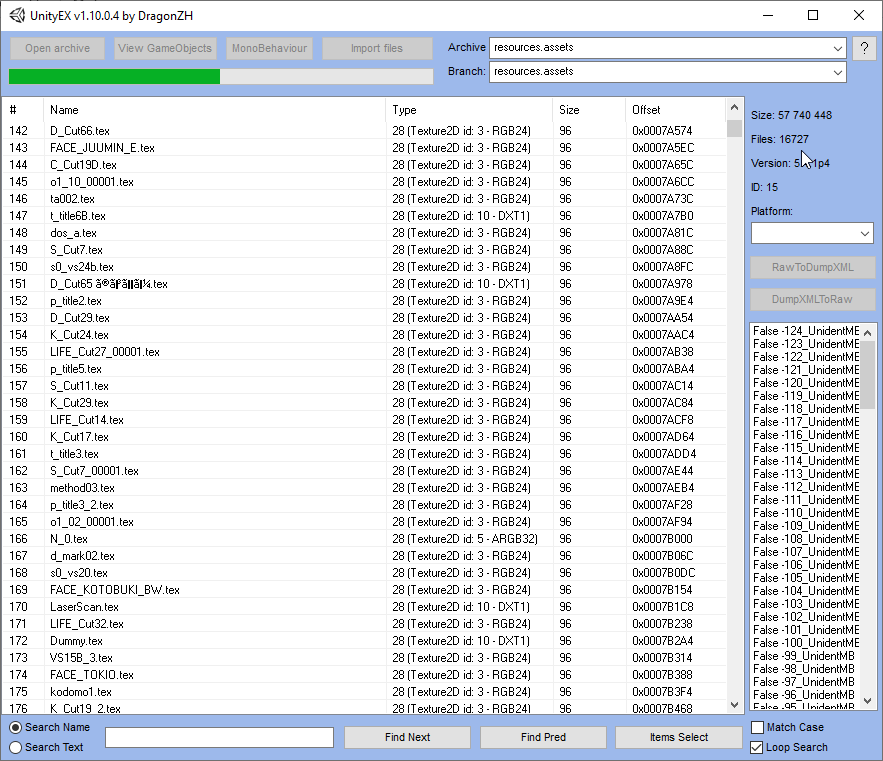
Unlike AssetStudio, UnityEX only opens one file at a time, which doesn’t matter since all the content we need is stored within the resources.assets file. When we open an archive within UnityEX, we can extract the files by right-clicking them, then by pressing “Extract with convert or Raw”: this will convert a file to a more common extension if it’s known (like AssetStudio does), or leave it as-is.
By hitting the “Import all files” button in UnityEX, the program will look all the files from the folder mentioned above, compare the filenames to the ones within the opened .assets archive, then replace each matching occurence. Any .png file is automatically converted into a .tex Texture2D file, then reinserted in the archive. If the program finds a filename that doesn’t correspond to anything in the archive, it will give a warning and askip if we want to continue anyway.
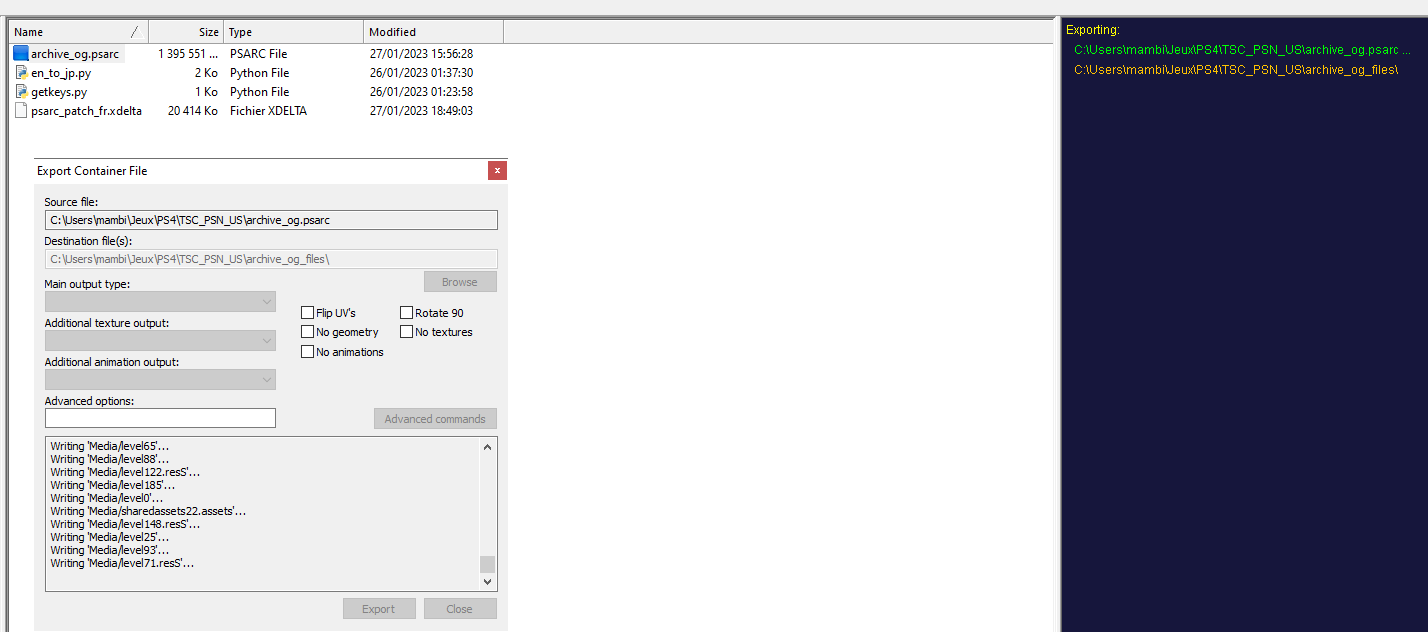
Now that the resources.assets has been edited, it’s time to do the whole process… Backwards! First, we need to repack the folder containing the extracted .assets files back to a .psarc file. This time, instead of Karameru, I used Total Commander, a freeware file manager which had the benefit of supporting .psarc repacking thanks to a third-party plugin by BEKETATA.

And… that’s it! Now, we have our modded archive.psarc file, ready to get inserted back into the game. As there are multiple ways of doing that, which both take a fair amount of time and dedication, I will document them in a final post, one that will get more focused on the PS4-side manipulation than the PC one.

Welcome to the final part of my series of post focused on the modding of a PS4 game!
Since we’re approaching the end, allow me to rant a bit about a detail that would’ve saved me a fair amount of time if I knew about it beforehand.
As I already noticed in 2020, PS4 games are encrypted inside .PKG files even once they are installed, and the only way to decrypt them is by booting the game up on the console.

As such, one would think that, in order to mod a PS4 game, we would need to repack the whole Fake PKG and reinstall it each time we modify a file. That’s what I did for my first dozen of tries, and the process was TEDIOUS! Imagine doing the whole process of Part 1 each time a mere file was modified, the waste of time was absolute between the PKG repacking (about 30 minutes), the transfer to USB (5-10 minutes), the actual installation (10 minutes) and finally booting the game up: a whole hour of NOTHING, urgh.
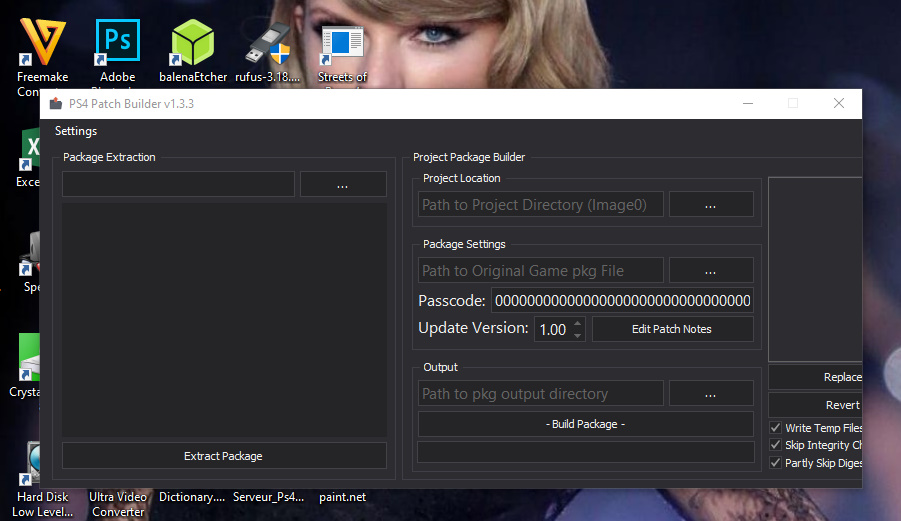
I thought I could finally seek salvation after finding out about PS4 Patch Builder but nope, it was the same, perhaps even worse. In order to use the program I needed a backup of the whole game as a PKG and an Image0 folder with all my modded files, and, for some reason, the program didn’t function if said folder didn’t also have all the other files, which means that I know had the equivalent of two backups occupying my space for nothing! After hitting that Build Package button it would take around half an hour to generate the “Update” PKG so really there wasn’t much benefit to using that method, if not to generate a slightly tinier PKG than before, at the expense of having 3 copies of the game lying on my Hard Drive with no benefits.
Now that this is out of my way, allow me to introduce you to the actual way of modding a PS4 game, the Holy Grail of modding, a technique similar to the Switch’s LayeredFS file replacement: AFR (Application File Redirector)! I will speak exclusively about GoldHEN‘s implementation of it (as a plugin), but it was originally made by theorywrong for the Mira Project.
As its name indicates, while the game is running, AFR replaces the games files with the ones we’ve put in a custom folder, eliminating all needs from repacking the PKG each time we want to edit a file. This method works with disc copies and legit PKGs!
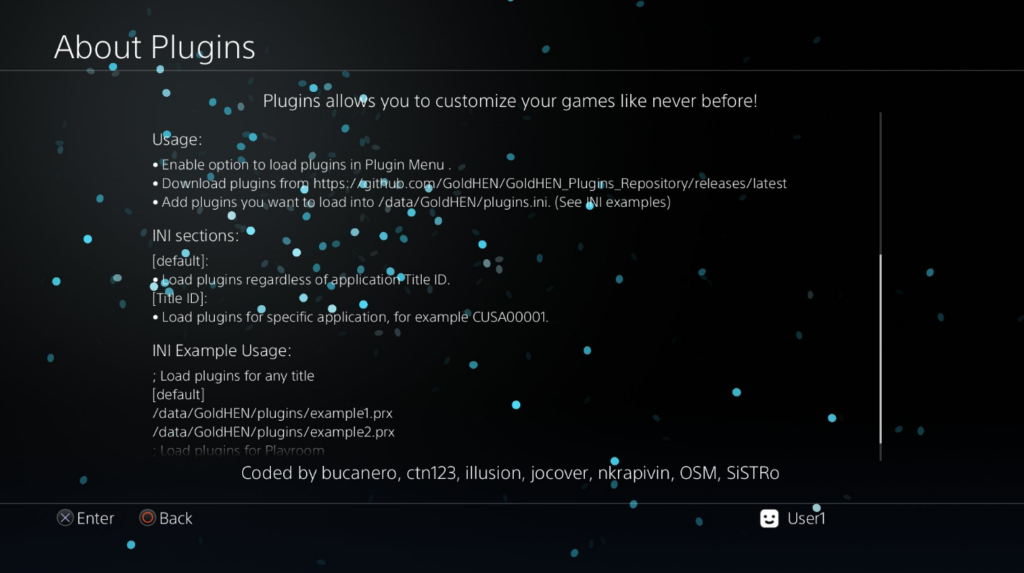
The first thing we need to do is to download the GoldHEN plugins from the GitHub repository. Once downloaded, we need to edit the plugins.ini file to enable the plugins we are going to use, and to tell which games we are going to load the plugins for. As I want to apply the plugins to any game, the file would look like this:
; Note: lines starting with semicolon are for comments.
; Load plugins for any title.

[default]
; Load the AFR plugin
/data/GoldHEN/plugins/afr.prx

; Load plugins only for Playroom.

[CUSA00001]
/data/GoldHEN/plugins/afr.prx
/data/GoldHEN/plugins/no_share_watermark.prx
With the .ini file modified, it’s time to put the plugins.ini file and the plugins folder in your PS4, into the/data/GoldHEN/plugins/ folder (we can do that by USB or by FTP).
Now, we can run GoldHEN and enable the plugins in the Settings > Debug Settings > Plugins > Enable Plugins Loader section.

For each game we want to modify, we simply need to create a folder bearing the game’s TitleID inside of /data/GoldHEN/plugins/AFR/, and place all of our modified files here.
If everything was done correctly, we will see the difference each time we boot up the games with AFR enabled.
There are a few ways of distributing our modded data to the public, each with their pros and cons:
The most user-friendly way would be by repackaging the whole game and uploading the PKG on the internet: anyone with a jailbroken console could install it, but it’s not only expensive in terms of space usage (we upload the whole game), but also obviously clearly illegal (we upload the whole game). I would not recommend using that as an option, especially if you want your mod project to be publicly available.
Another way would be by generating a custom update so we would only need to distribute the files that we modified through a Fake PKG. Unfortunately, this method requires the user to dump their game and reinstall it as a Fake PKG, which isn’t optimal.
The best compromise between legality and ease of use would be the AFR we mentionted before: we only need to distribute the edited files, which the user can then copy to their console in the /data/GoldHEN/plugins/AFR/CUSAXXXXfolder.
Even better legally, by using Delta Patching tools, such as xdelta or xdelta3, instead of distributing the files directly, you can distribute patches that will modify the original files
with the new data, which means the user would have to own their own dump, and that we don’t technically upload any (usable as a standalone) illegal content.
Another advantage is that by only distributing the patched part of a file, we can drastically reduce the size of the patch we are going to share! Be warned though, this method requires the user to apply the patches by themselves before obtaining the modded file,
and that an xdelta patch (to my knowledge) is applied to a single file, which, in case of a patch that modifies a lot of files,would make us generate the patches one by one, and the user would also need to apply them one by one!
(these cons could be solved by making Bash/Powershell/Python… scripts that handle the patching for the user, as xdelta handles CLI with no problem.)

And thus, our long guide finally comes to an end. Now, we are able to jailbreak a ps4 console, dump any game we want, modify its contents (we covered the case of a Unity game) and run the patched contents on the console as easily as possible. Thank you for reading this blog, I will come back for more Sony-oriented romhacking articles soon!
Previous Page